Hi all!
Today I shall be sharing one of my all time favourite recipes..
Rainbow Cupcakes!


By 'all time favourite', I mean ' Fun to make since about a year ago', but they're so darn cute that they deserve more love!
Essentially, they are normal butter cupcakes with an added twist- they are rainbow!
It's a really easy recipe, and the 'rainbow' method is even easier.
So, here we go:


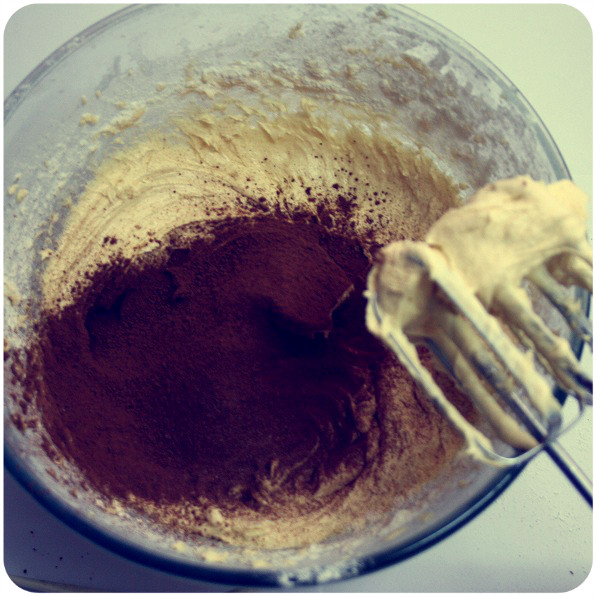
Place butter, sugar and vanilla essence in a mixing bowl

Use an electric mixer to beat the mixture, scraping down the sides as necessary, until pale and creamy.


Add food colouring to your desired colour density (start with a tea spoon and add more if necessary).

Combine well!


To prepare frosting- Use an electric mixer to beat the butter and vanilla on medium speed until smooth and pale.


Reduce the speed to low and add the icing sugar 1 cup at a time, beating well after each addition until well combined.


To pipe the buttercream onto the cupcakes, push the nozzle all the way to the end of the bag, and fold end of the bag inside out.

Spoon buttercream into piping bag until half full

Straighten out piping bag

Twist the open end of the piping bag while simultaneously pushing the buttercream to the nozzle end of the piping bag to get rid of any air

Hold the piping bag firmly at the twist, gently squeezing the buttercream out of the nozzle. There are multiple ways to frost a cupcake with a piping bag, I chose to do a normal swirl :P

And there you have it, pretty pretty cupcakes!

Anddd the inside is pretty too :)

Preheat oven to 180C (350F).

Line muffin tin with cupcake liners

Place butter, sugar and vanilla essence in a mixing bowl

Use an electric mixer to beat the mixture, scraping down the sides as necessary, until pale and creamy.

Add the eggs one at a time, beating well after each addition.


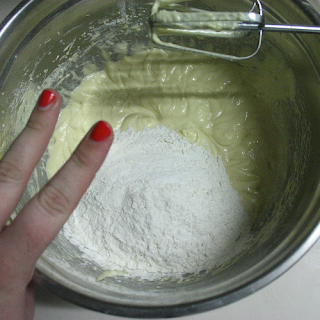
Sift together the flour and baking powder.
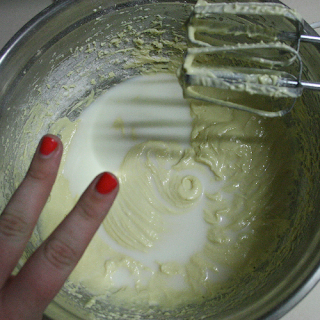
On low speed, mix the flour mixture and milk alternately
in two separate batches until well combined.


Separate mix into four bowls. (I used four different colours, so I divided the mixture into four parts).
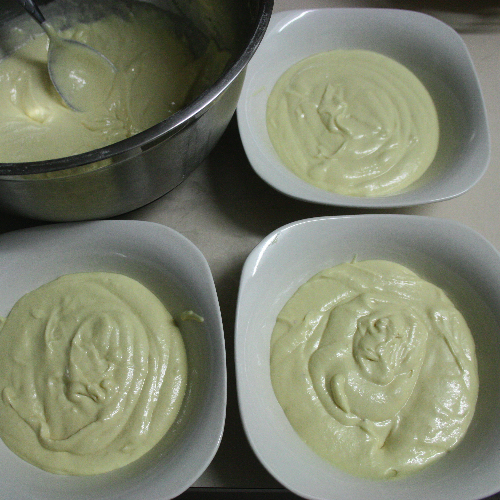
Add food colouring to your desired colour density (start with a tea spoon and add more if necessary).

Combine well!

Place one spoonful of each coloured mixture into each cupcake liner.


Bake in oven for 20mins (or until a skewer can be inserted and removed without raw batter sticking)
Allow to cool for around 30mins

To prepare frosting- Use an electric mixer to beat the butter and vanilla on medium speed until smooth and pale.


Reduce the speed to low and add the icing sugar 1 cup at a time, beating well after each addition until well combined.


To pipe the buttercream onto the cupcakes, push the nozzle all the way to the end of the bag, and fold end of the bag inside out.

Spoon buttercream into piping bag until half full

Straighten out piping bag

Twist the open end of the piping bag while simultaneously pushing the buttercream to the nozzle end of the piping bag to get rid of any air

Hold the piping bag firmly at the twist, gently squeezing the buttercream out of the nozzle. There are multiple ways to frost a cupcake with a piping bag, I chose to do a normal swirl :P

And there you have it, pretty pretty cupcakes!

Anddd the inside is pretty too :)

Cupcakes
185g (6 1/2 oz) unsalted butter, just softened
165g (5 3/4 oz/ 3/4 cup) caster sugar
2 teaspoons vanilla essence
3 eggs, at room temperature
300g (10 1/2 oz/ 2 cups) plain flour
3 teaspoons baking powder
125ml (4 fl oz/ 1/2 cup) milk
Food colouring
Vanilla Buttercream
185g (6 1/2 oz) unsalted butter, just softened
1 teaspoon vanilla extract
250g (9 oz/ 2 cups) pure icing sugar, sifted
1. Preheat oven to 180C (350F). Line muffin tin with cupcake liners.
2. Use an electric mixer to beat the butter, sugar and vanilla in a medium bowl, scraping down the sides as necessary, until pale and creamy. Add the eggs one at a time, beating well after each addition.
3. Sift together the flour and baking powder. On low speed, mix the flour mixture and milk alternately in two separate batches until well combined.
4. Separate mix into four bowls. (I used four different colours, so I divided the mixture into four parts). Add food colouring to your desired colour density (start with a teaspoon and add more if necessary).
5. Place one spoonful of each coloured mixture into each cupcake liner.
6. Bake in oven for 20mins (or until a skewer can be inserted and removed without raw batter sticking).
7. Allow to cool for around 30mins.
8. To prepare frosting- Use an electric mixer to beat the butter and vanilla on medium speed until smooth and pale.
9. Reduce the speed to low and add the icing sugar 1 cup at a time, beating well after each addition until well combined.
10. Frost cupcakes with Vanilla Buttercream, decorate if you wish!
11. DEVOUR!
Hope you all enjoy, and have a sun shining day
Kellie x